Tiny House: Water Heater…making the outside the inside

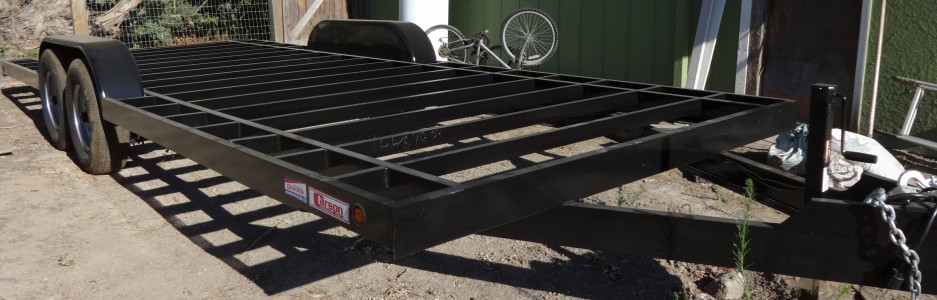
One of the many challenges of building a tiny house is trying to fit all the things you need inside.  Either you find a smaller version of said “thing” or you throw it out altogether.

For the water heater, I had to find a little one.  As much as I like the idea of kickin’ it pioneer style, I still want a hot shower now and then.

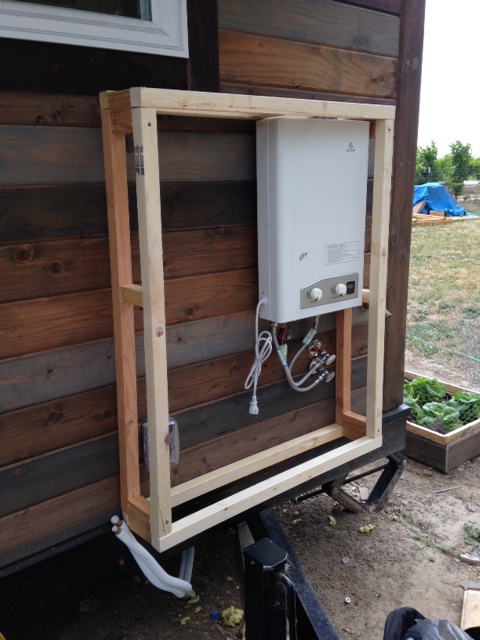
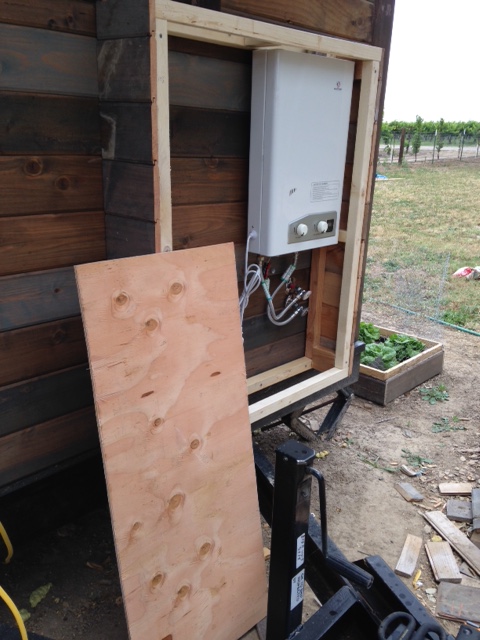
I chose a gas-powered instant hot water heater by Eccotemp.  BUT it is technically an indoor water heater.

You guys…I tried to get it to fit inside.  It just wouldn’t go.  Either it wouldn’t fit in between the studs (so it could be hidden), or it needed to be vented outside and would make for a weird hole in the wall (so much of this project comes down to aesthetic for me), or it stuck out from the wall in an obnoxious, HERE’S-A-WATERHEATER, kind of way.

So, I put it outside.

DSC01072

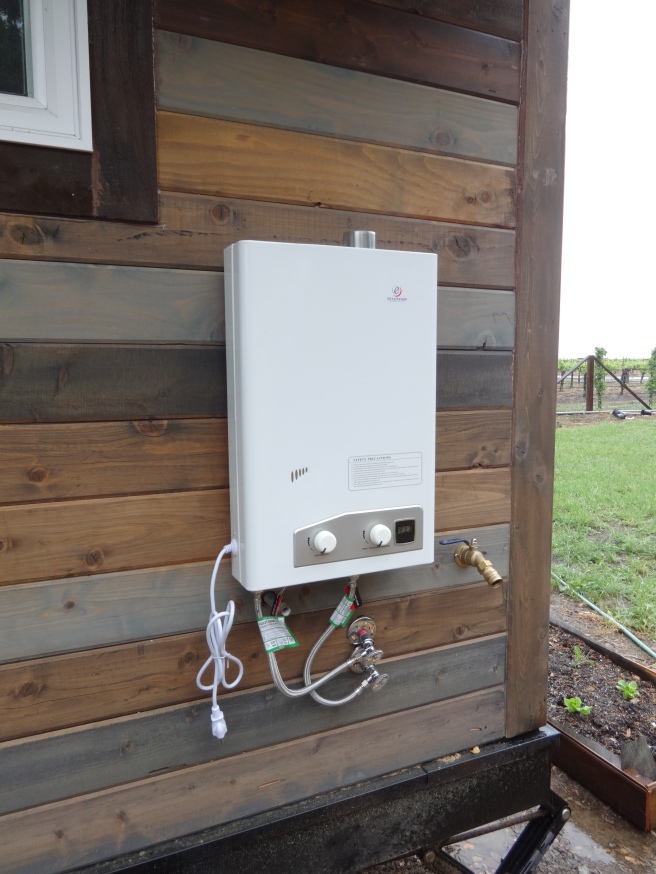
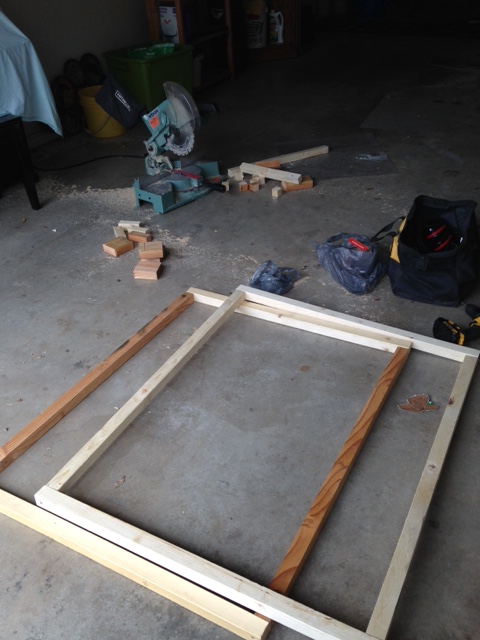
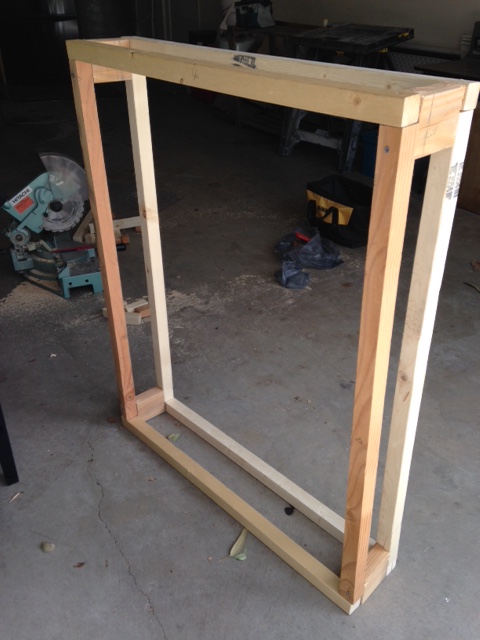
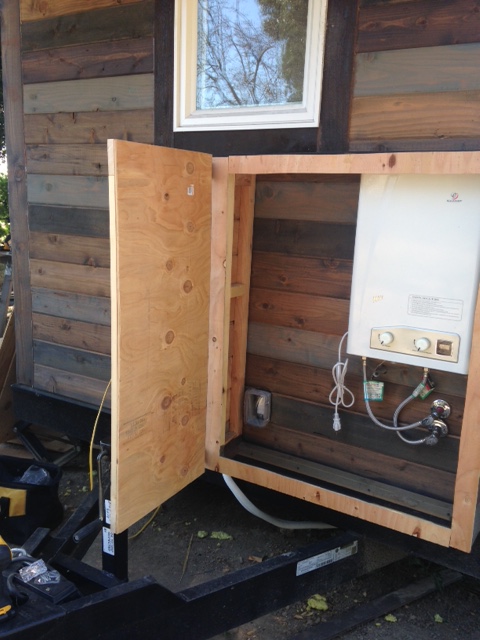
Now the challenge was, how do I make it an “inside” waterheater again?  The only option was to build a case around it that was vented, but protected from the sun.

cover1

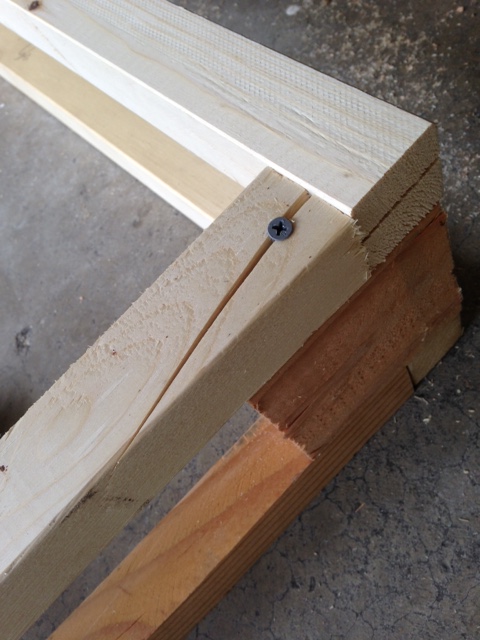
Lack of pre-drilling sometimes leads to this…

cover2cover3cover4

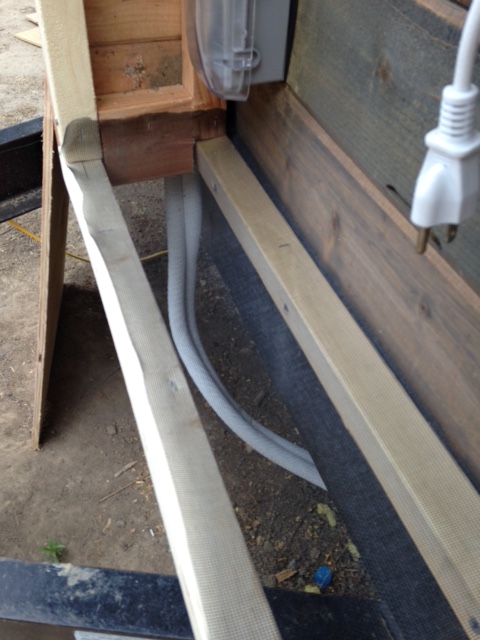
Leftover screen (from a screen repair project) made for a perfect  bottom and top cover!

cover8

Also, leftover siding…

cover6cover7cover10cover11

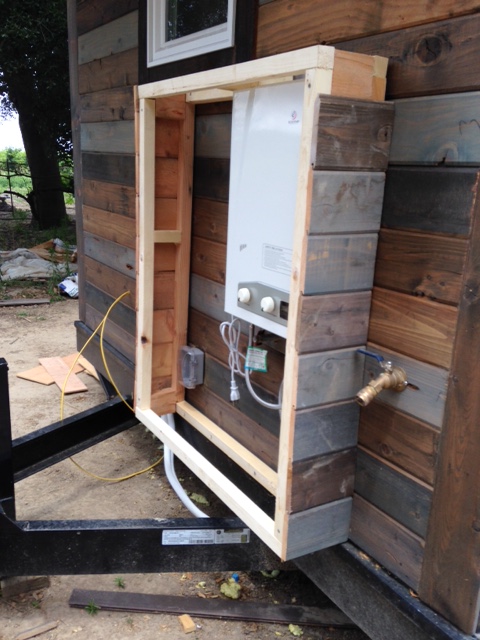
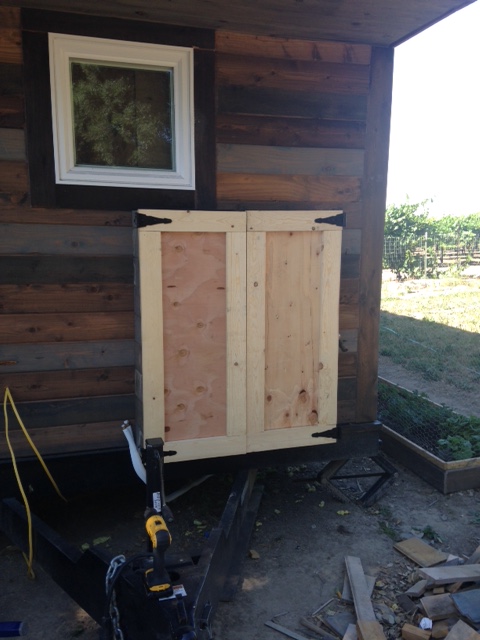
The hinges work and everything! I’ve since stained the wood to blend in a little better 🙂  If you have leftover materials, fight the urge to throw it away until after you’re completely done.  You never know what you could repurpose next!

Thanks to Lucy and Tacy for coming out and helping me finish the doors 🙂

Tiny House: Shower…continued

I love 3-day weekends.  Not only was this July 4th, but I got a LOT of stuff done on the tiny house!  Progress AND fireworks?  Yes, please.

Because what is more American than celebrating freedom by lighting things on fire?  And, you know, building stuff.

We last left off at the shower pan…  I finished the curb with cement board, which was then completely grouted…

DSC01228

DSC01230

As long as it looks like brownie batter, we’re good…according to the Youtube.

DSC01229

DSC01233

Then I wanted to make the transition from the wood to the rubber sheet a little smoother (not that it really mattered, but I did anyway).  I used the webbing stuff that is used to patch holes in drywall.  Why?  Because I found it in a box and thought, “Hmm, I bet that’d work.”  Other than that, I have no official word from a real contractor as to the “correct” way to do this…but, my house, my rules.

DSC01237

More waterproofing…  That’s called Aquaguard (I think)…it’s Lowe’s version of Red Guard.  It paints on turquoise and dries dark green.  I ended up painting it on the loft floor above the shower too…

IMG_2245

Aaaand my favorite!  RIVER ROCK!

I’m glad it turned out pretty because it was a pain in my backside to lay out.   Since the pan isn’t perfectly 2ft wide, I had to cut off sections of rocks.  But because they aren’t uniform in shape, I had to cut off A rock here, and A rock there.

Also, it was 102 degrees.

IMG_2251

I was able to stay ahead of the thinset drying (just barely) in order to get all the rocks stuck down.  Then I grouted it a few days later.

Decent!

DSC01266

The next part of the shower was figuring out how to keep the metal surround from touching the rocks.  That is a big No-No apparently. The only thing I could think of was weatherstripping used mainly in doors and windows.  As I perused the aisle in Lowe’s, I found a rubber silicone kind that had an adhesive strip on it!  The adhesive isn’t super amazing at sticking, but it was enough to hold it while I caulked the top and bottom of the strip.

DSC01267DSC01268

Then we flash the corners.  I was STOKED that I saved the leftover flashing from the underside of the trailer…remember this?  All those strips I had to cut and screw to the bottom of the trailer in the dirt and heat?  Well, the 10 feet that was leftover I never threw away…

DSC00545[1]

It was PERFECT!

DSC01269DSC01270

Flashing up…

DSC01272

Then first panel up…kind of…

DSC01273DSC01275

The shiplap…

DSC01278DSC01289

The bathroom is now about 80% done!  I do believe it’s coming along nicely 🙂