Very few things in this little project go quickly. I mean, for goodness sake, it took me almost a YEAR to figure out the interior. And even then I’ve changed the bathroom 12 times.
I didn’t expect that the insulation would be fast. Yes, I knew it was a spray foam, but the “quick” factor never even crossed my mind.
Before I get in to the actual process, allow me to back up a tad. Just picking a medium for insulation was a process in an of itself. There are so many choices! SO. MANY. Then there is this thing called “R-Value” that is kind of a big deal. So here’s what I’ve learned so far:
R-value, for those of you who stare at spreadsheets all day and just got your first power tool 6 months ago, is a means to measure how efficient a house is. The higher the R-value, the better. It means the structure keeps hot air in (for longer) during cold months and cold air in (for longer) during hot months. According to the California Building Code, walls have to be an R-value of 13 and ceilings have to be 30-something…maybe 35? But I could be wrong.
The next thing was the different types of insulation. It was surprising, really. Kind of like when you find out your cat is preggo. “Yay! Kittens!” and “Ohhhhhhhh no. Kittens.”
Each one has a different R-value, different price point, biodegradable, not bio-friendly, chemical-free, will-give-you-cancer-probably….the list goes on. They literally make insulation out of denim if you want. Really. Old shredded up jeans. It’s amazing.
I picked the spray-foam kind. Well, more like that was the only choice I had. When I went to put the siding on the house, there came a point when I was near the roof that I could vent the ceiling. That meant drilling 2 big holes in each section (high side and low side) and then covering them with mesh something and maybe a cap. The whole idea is that there is air flow in the ceiling to prevent moisture build-up and mold. We don’t like mold.
But I decided against venting. Why? Well, at that point it was FREEZING outside and I was really done being on a 15-foot ladder. That’s the jist. So I left it. Then come to find out the only way to make it so I don’t have mold and subsequent re-roofing in 18 months is if I completely seal off all wood up there. The only possible thing that would do it is spray foam.
So cool, spray foam….no problem. BUT. If I’d have known how expensive it was I would’ve drilled the holes. The decision not to drill was an off-the-cuff, game-day thing. Up until then I was planning on fiberglass if I’m remembering correctly. The budget was geared toward that, NOT spray foam.
Yep, that part of the budget is blown.
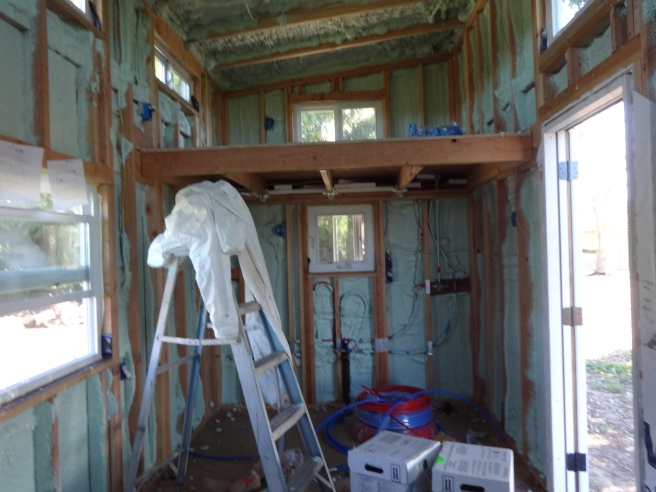
The good news is that from start to finish it took me just under 3 hours! WIN! Also, spray foam is super efficient…as in R7 per inch. That means in 5 inches of foam I can get R35 in the ceiling and in 2 inches, R14 in the walls.
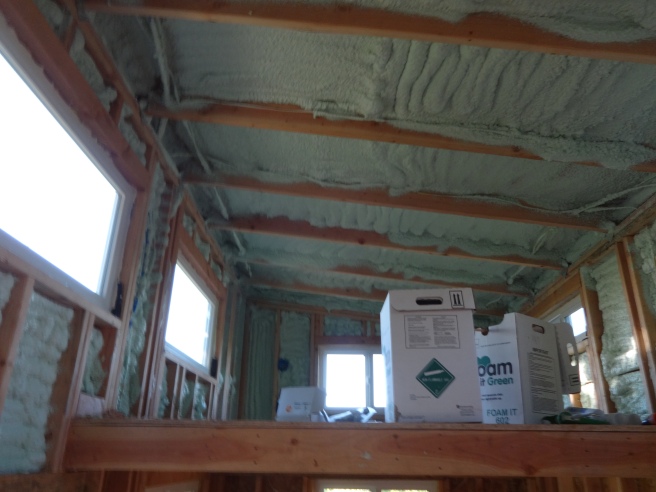
I ordered my kit from Foam it Green company. There are two chemicals in pressurized tanks that when combined, make a pretty green color. That way you know you’re insulating correctly. Pretty handy!
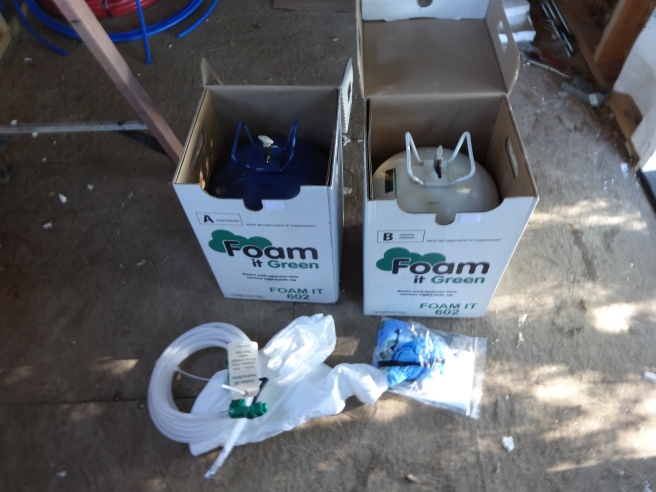
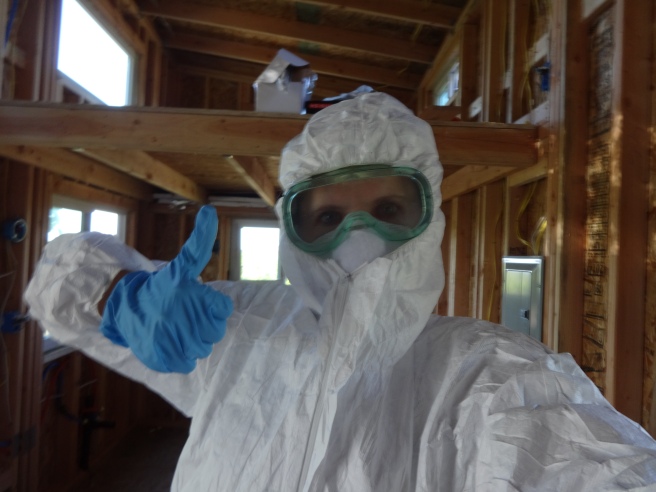
The whole thing comes with safety goggles, gloves, a tyvek suit, booties…they’re serious about their safety. This is probably the kind that will melt my skin off, but at least my house is well insulated.
The ceiling…. because it had to be so thick, I had to insulate in stages. If it got too thick or I got the nozzle too close to the ceiling, it glopped down on my head. As a side note, this stuff gets REALLY hot when it cures. Thankfully, it only takes 2 minutes to dry!
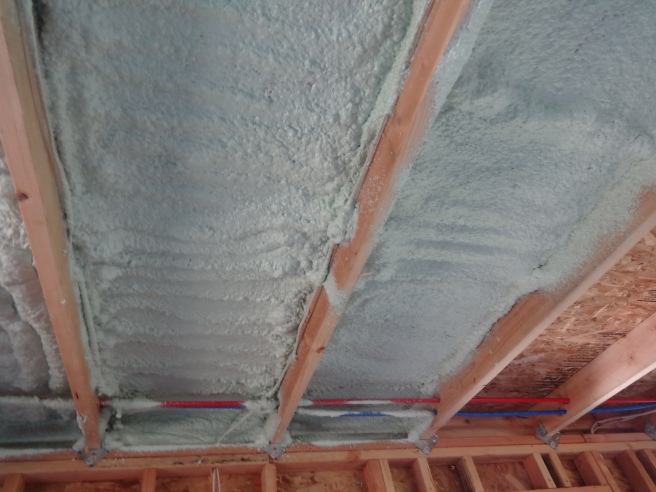
Glopping…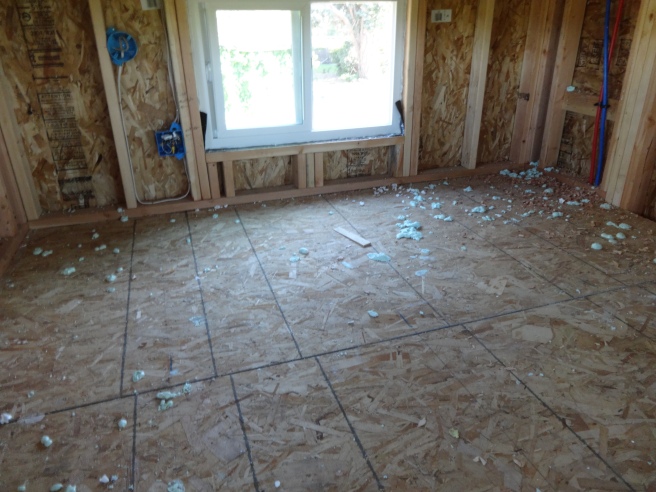
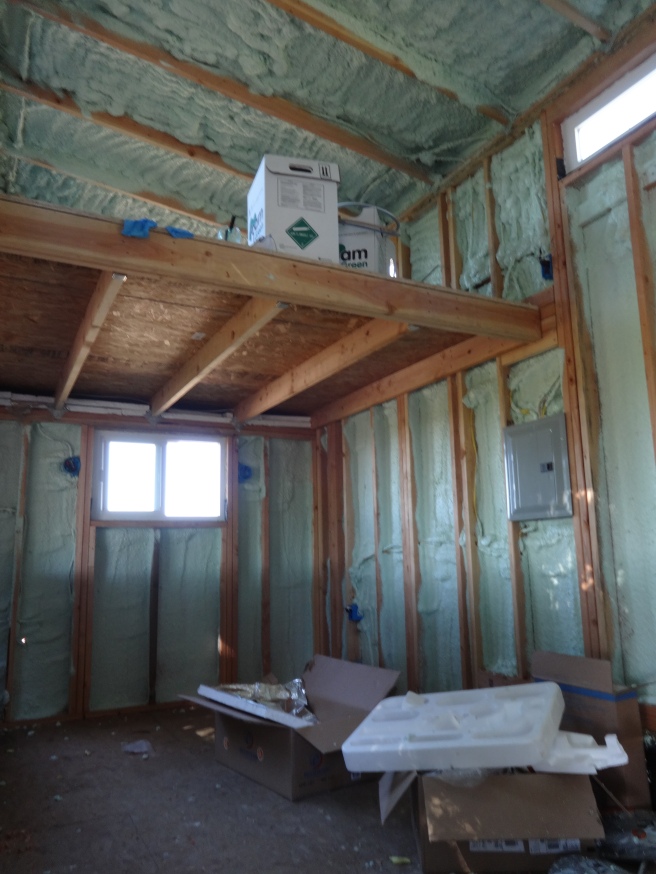
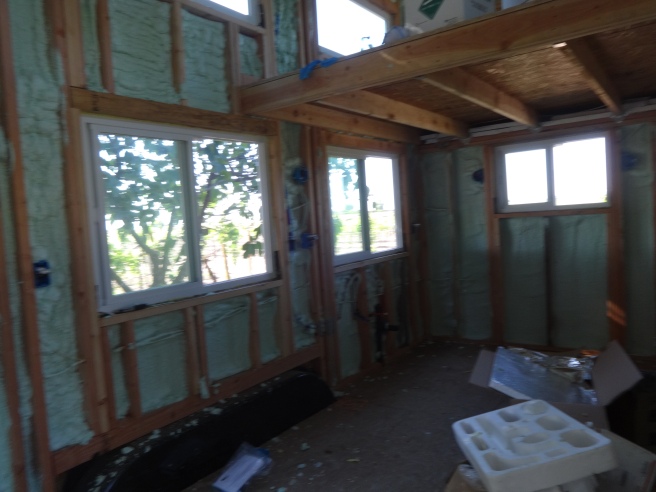
Some of it looks like a hot mess, but who cares? It will be covered by walls! And I did have a little overspray on the 2x4s and a few spritzes on the window. Good thing is it will come off with Acetone…all you ladies know it as “nail polish remover”.
So much winning right now.