Tiny House: Shower Pan Extravaganza

The shower. This is the last big project left to do. It’s not so much that the materials are super heavy or that it covers a big area (the shower is only 2×3), but it’s involved.

You can’t put in the tile before you pour the mortar shower pan, but that has to dry and it has to be waterproofed…which also has to dry.

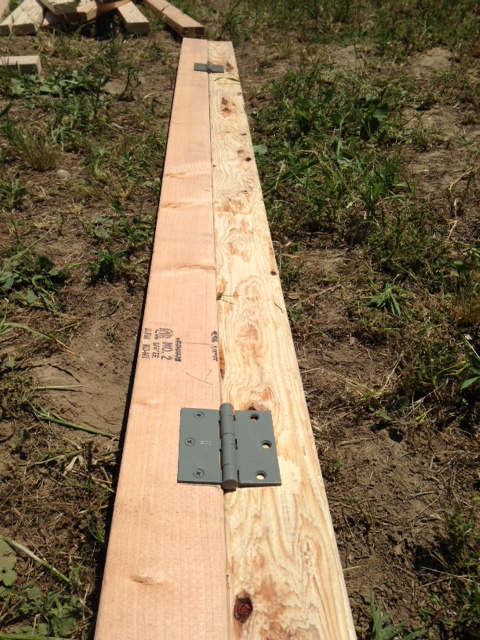
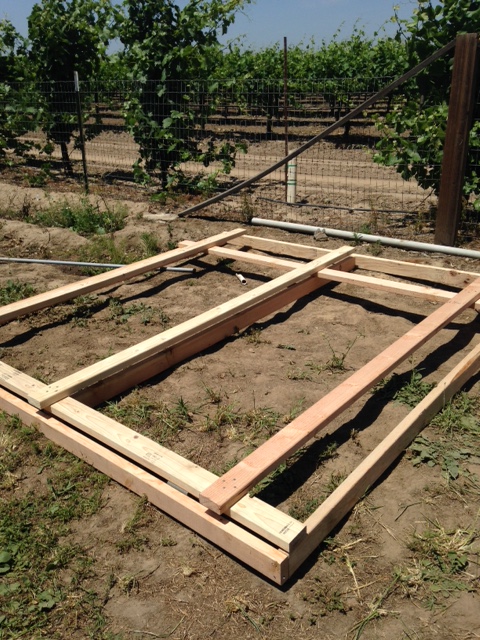
But first…the frame.

Until last weekend, the bathroom was just a box.  In order to have the shower that I want (ie. the shower that would fit), I had to build a frame for the shower pan. I literally could not find a pre-made plastic shower pan that had the dimensions I needed. That is by far the easiest way to go, but since I couldn’t find it I had to figure it out my dang self.

DSC01202DSC01204DSC01205DSC01206

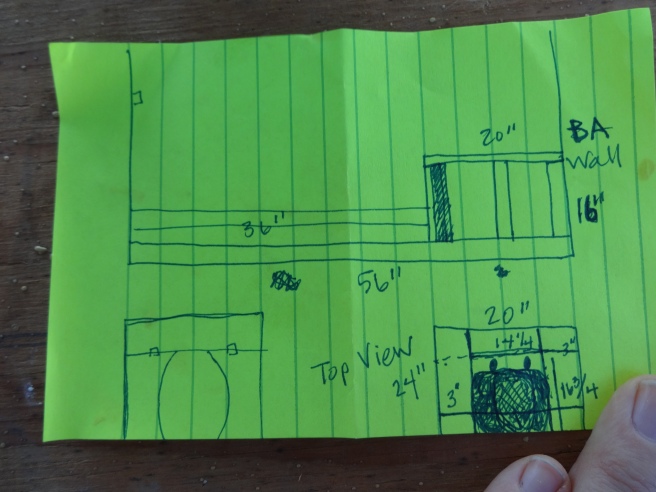
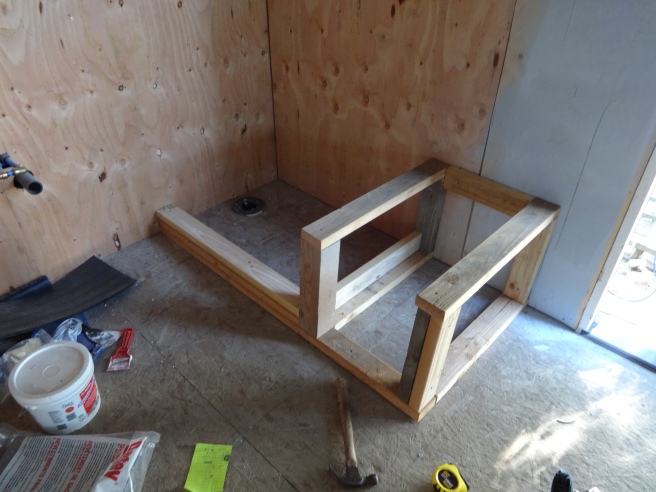
Most of my ideas start on a sticky note.  I work out all the measurements and make sure I have enough wood, then have at it with the saw.  The shower goes in the corner (obviously) and the box-looking thing will be the cabinet for my composting toilet!
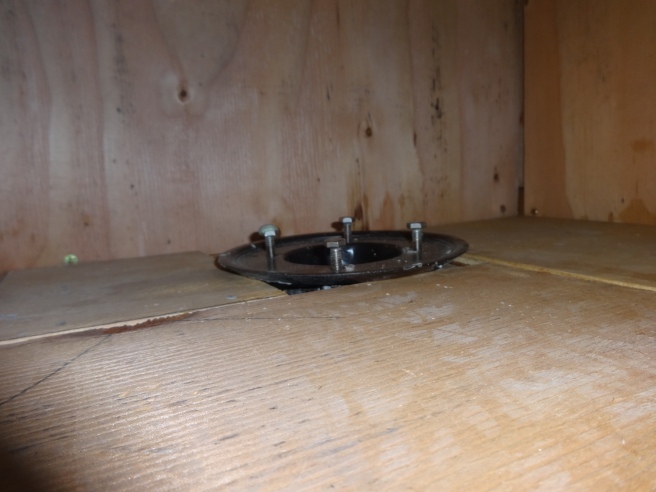
Next…the drain.

We needed to connect all the pieces (literally glue with black sticky stuff) and bolt it down.

DSC01209

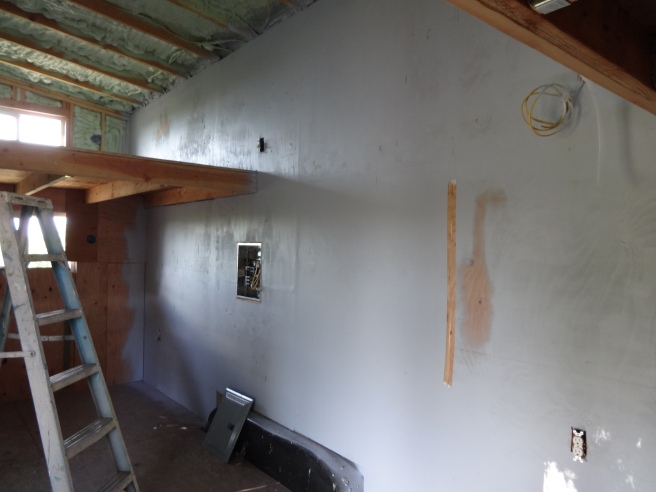
Oh, and that white stuff? ^ That’s the spray foam insulation.  I used what was leftover underneath the trailer.  It expanded so well that it sealed the flange to the floor and we had to pry it up.  Be careful with that business.

DSC01210DSC01211DSC01213

Buuuut it turned out when we finished the process, the bottom flange ^ stuck up from the floor about 1/4 inch.

Not to worry!  All that can be fixed with scrap plywood.

DSC01212DSC01214

DSC01216

See?  🙂 So much of building is on-the-fly and creative problem solving. Whoever said construction is for those who aren’t smart probably thinks changing a light bulb counts as manual labor.  But I digress.

Then on to the waterproofing.

One major “take away” from this project is WATERPROOF ALL THE THINGS. Whether it’s caulk or spray or thick, intertube-esque sheeting, when in doubt, seal water out.

DSC01217DSC01219DSC01220DSC01224

Pictures make it look so fast. But Nooooooo.  This was quite a wrastling match.  The sheet is thick like an intertube…the black ones that are used for tires and sometimes floating down the river.  It DOES NOT want to cooperate, especially in the corners. Speaking of which, that bottom right corner is bugging me.

The edges are screwed to the wall – above the curb level which is important – to make sure it stays in place.  I left the size pretty much as it came out of the package. I’ve watched some professional tilers on the Youtube who cut it all pretty with very little excess. But I’m not professional.

There’s grace for that, right?

Now we’re on to the bigger stuff…the mortar bed.

First let me say, concrete is surprisingly heavy. It’s super fine like baking flour or powdered sugar, but HEAVY. Especially once you get it wet. Again the Youtube guys were all “oh just get it a little wet, enough that it will hold together when you squeeze it then smooth it out with a 2×4.”

So that’s how I started mixing in the wheelbarrow.  Just a liiiiittle water.

DSC01225

But oh my word~! I could NOT get this stuff to move in to place. I struggled through 3 bucket-fulls of mortar before I was over it and dumped some water on top of the “only-a-little-wet” mortar in my soon-to-be shower.

DSC01226

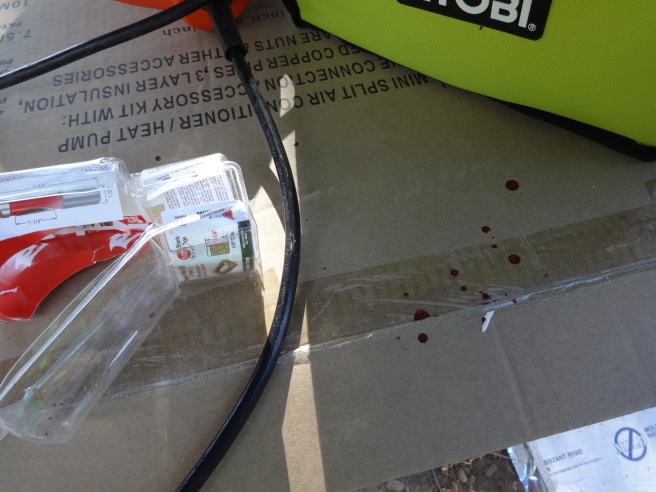
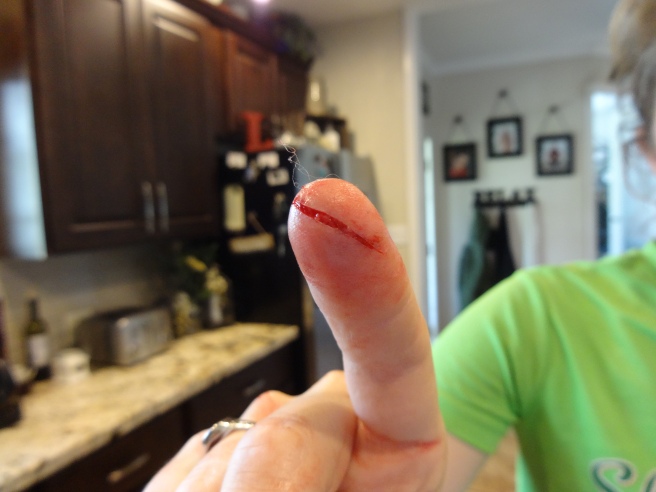
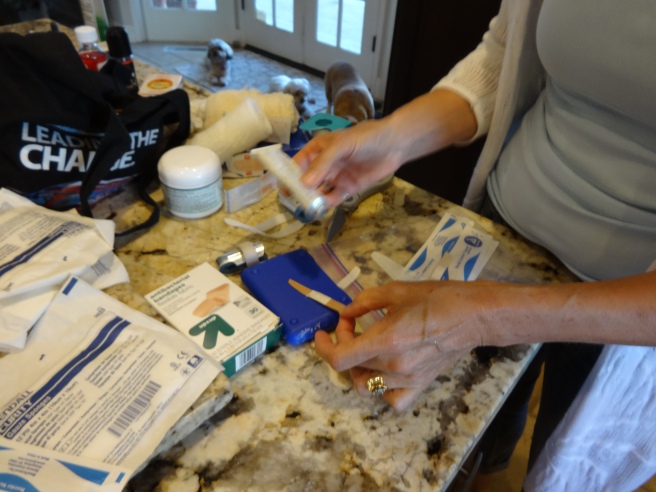
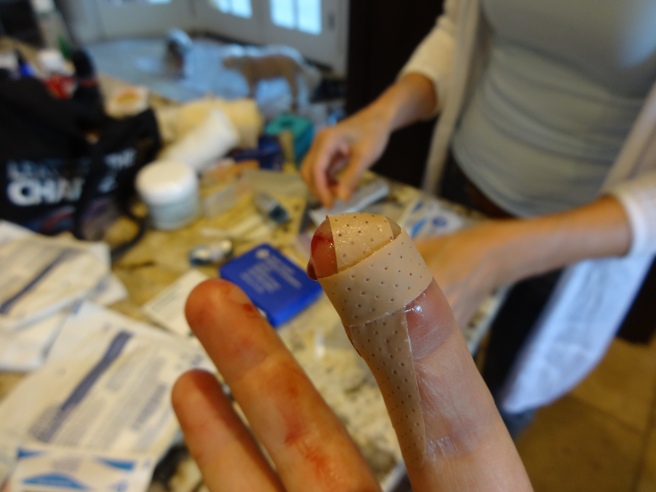
That worked MUCH better. Actually, it was a lot like pottery class. I ditched the 2×4 and used my left hand (that’s the good one for now…the one without the stupid router bit gouge) to smooth it around.

DSC01227

And I’m happy to report it is perfectly unlevel….sloping from the right down to the left hand drain 🙂

This is far from done, but I think the major part is over. If you’re wanting to install a shower pan, I learned from watching this guy:

He builds a demo on a smaller scale so you can see what’s happening.  I also used his direction for building the curb and more waterproofing…but that’s for later 🙂

Nobody makes me bleed my own blood…but router bits do.

Today was such a good day!  My friend Steve stopped by to say hi, I learned I’m getting a new niece or nephew in October (YAY Steve and Daisha!), got to eat at my fav food truck, AND I finished painting the interior!

Friend Steve …

steve!

I was SO excited to have finished painting that I went down to the Home Depot and bought a router.  This tool I have to have to cut out the wood I put over the windows (so I could paint).  I was stoked that I even knew what tool to get (due to previous research and scouting)…you can imagine my excitement when I got back home and there was daylight left!

But in the middle of opening up the router-bit clamshell package that is designed to survive Armageddon, something slipped.

I looked down and saw this…

DSC01199

That was nothing compared to the crime scene that was now on my hand.

Annoyed that I couldn’t finish the windows, I walked over to the spigot to wash off the torrent of red and see how deep this cut really was.  After about a minute of thorough flushing, I still couldn’t tell.

I had to go in to the main house for a second opinion:  Stitches…or No?

When we finally got the bleeding to stop, this is what it looked like…

DSC01192

Not amused ^

The split…

DSC01193

Pretty clean, right?

My friend Lisbet and I decided that it could probably go either way with the Urgent Care and the stitches.  I could go wait for hours and pay several hundred dollars for stitches, or I could butterfly it at home.  Also, we have wine at home.

Can you guess which one I chose?  🙂

DSC01194

The kitchen ER ^

DSC01195DSC01197

The butterfly ^

DSC01198

The “I’m Super Excited About This” face, also the “I Can Feel My Heartbeat in My Finger” face ^

The paint turned out really well though so at least there’s that… I’d explain more but it kind of hurts to type and 3-finger typing is weird.

DSC01200DSC01201

Lessons for the day:

  1. Rent paint sprayers.  They are worth the money when you can finish painting in 15 minutes.
  2. Gallons of paint are expensive.  Be prepared.
  3. Routers are cool.
  4. Router bits are rat bastards.
  5. Kitchen ERs are far superior to other ERs .
  6. Butterfly, butterfly, butterfly.

Dang.  I could really use some chocolate.

Tiny House – Solar Powered

In an effort to be “off grid”, my house will be entirely solar-powered.  Like I said earlier about the confusion around electricity, solar isn’t much better.

How many watts do I need?  What inverter will handle the wattage?  How big do the batteries need to be?

Sweet Jesus.

I’m so glad that part is over.  Unless you’re “down with electricity” or whatever, be prepared to devote many hours (even weekends) to researching this system.  The good news is that technology has improved to the point that solar is a lot cheaper and much more powerful than it used to be.

solar

I found the best deal on solar panels (and the widest variety of brands and components) at Wholesale Solar in Mt. Shasta, California:  http://www.wholesalesolar.com/

They are super helpful when you call them and have engineers on staff that will set up wiring plans for you.  It’s an extra fee and I’m cheap so I searched online until I found one that included all the components I bought:  https://rvseniormoments.files.wordpress.com/2013/01/ms2000_newmar_inverter_wiring_01_20_2013.jpg

I ended up choosing 2 panels that are 315 watts a piece.  That means they produce 630 watts in ideal conditions (direct sun).  The batteries will hold a total of 5,000 watts (I’m estimating that’s about double what I will need on a super hot day).  I’m also planning to have a generator for just in case…but I haven’t gotten that yet.

The entire system was purchased from a variety of places even though Wholesale Solar carries everything you need.

Since Mt. Shasta City is so close, I decided to make a road trip up there to pick up the panels and batteries….also, that saved me $400 on shipping 🙂

DSC01060

Lake Shasta ^

Panels all loaded up …

DSC01049

Batteries that weigh 120lbs a piece…I can barely get them to move.

DSC01050

Other components fit in this box in the front seat….pretty sure there were switches, a mini breaker box and a few cables in there as well…

DSC01051

Being that I just spent over $2000 for the solar stuff, I had Spendingitis (the technical term for being weary of seeing so much money go out the door).  Naturally, I was hesitant to call Wholesale Solar and ask about the solar panel racks….I just had a feeling they would be expensive.  When I talked to the guy on the phone he explained that for the panels I got, they only sold racks that would hold 6 panels, nothing smaller.

Of course they don’t.

But the good news is that I could build my own out of 2x4s if I wanted!

Um, what?  It’s that easy?  And cheap?

Yes.

I do believe he said the magic words!

So I immediately got on the old Youtube because where else do people go to learn stuff these days?  After watching a few videos that were WAY too technical for me (ie. they used huge drills to make holes in the ground and started welding stuff…so I turned it off).  I got the idea for the design of the frame from this guy:  https://www.youtube.com/watch?v=0aQSrIrqZRg

It’s pretty amazing how much you can learn from there.

Also, thank you Lowe’s for the screamin’ deal I got on the Build-It-Your-Dang-Self solar panel racks:  just under $50!

Parts for the racks:

1 box 2″ Deck Screws

2x4x8 – 15

Industrial hinges – 2

Bolts – 3 (for the supports)

Little bolts – 20 (to hold down the panels) 3/8″ I think…

The bottom has hinges so I can adjust the panels for the season/angle of the sun…

solar2solar1solar5

It went together pretty fast since I didn’t cut any of the 2x4s.

solar4

The blue box in the background is the batteries and inverter and other wires and switches.  They sit up on a platform that I need to build a case around, just haven’t gotten to it yet.

solar3

The only thing I’ll do differently from the video is on the supports.  Instead of permanently screwing them in, I’m going to attach them with bolts; that way I can easily change the angle of the panels.

But more on that later…