There’s no need to decide!

As with most designing aspects of this project, I started with a blank Excel sheet. You heard me: an Excel sheet. Why? Because I’m in finance and spreadsheets are my JAM!

Once I decided on the WHAT, I had to figure out the HOW… that part started with the color. I may have picked it for the name…

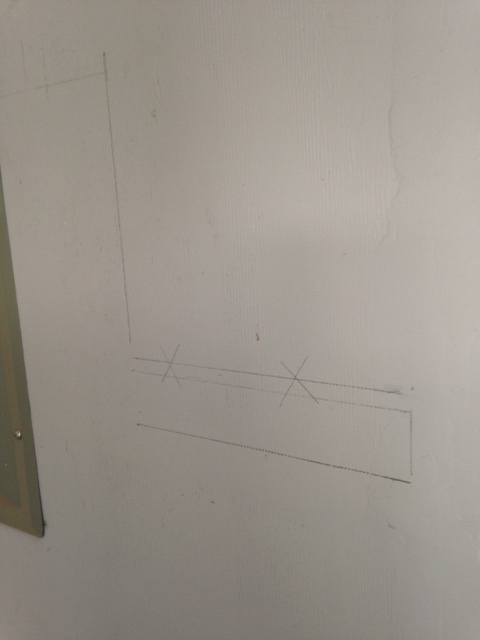
Then I drew the placement of the rise and run on the wall per this guy – https://tinyhousebuild.com/gain-sf-under-stairs/.
He is a professional builder so clearly he knows what he is doing…
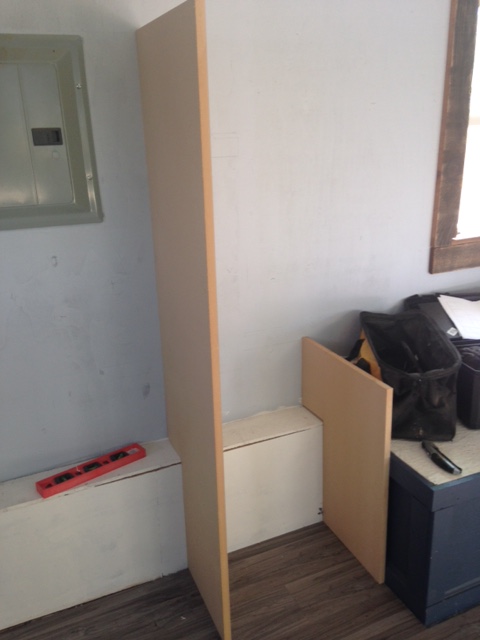
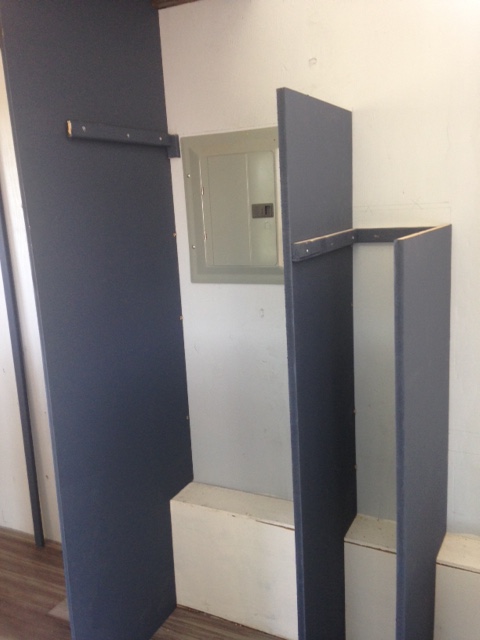
I took my newly-cut 3/4″ thick mdf board and stood it in place to check the fit… also, as a side note, I had Lowe’s pre cut the mdf board in to 18″ strips. That made it MUCH easier for me to transport (mdf board is stupid heavy) and made sure the cuts were straight. Which seems to be a challenge for me.

Stuff like this bugs me, but I have to keep repeating: It’s not perfect, it’s precious… Thanks to my awesome sister for that reminder!

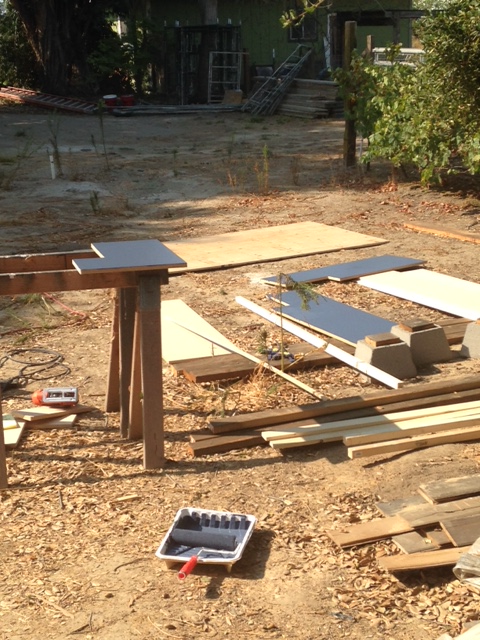
Once the fit was right, I prepainted all the pieces. It saved a lot of time taping off the edges!

I have to be careful where I set the pieces to dry…not having an enclosed workshop means I have to be mindful of dust, leaves, and bird poop.
I screwed the supports in to the wall and then screwed the risers (tall pieces) to the supports…

Following the marks on the wall, of course. Although you can see where I XX’d out a mistake…thankfully I saved my leftover wall paint, so I went back afterward and fixed that lapse in judgement…

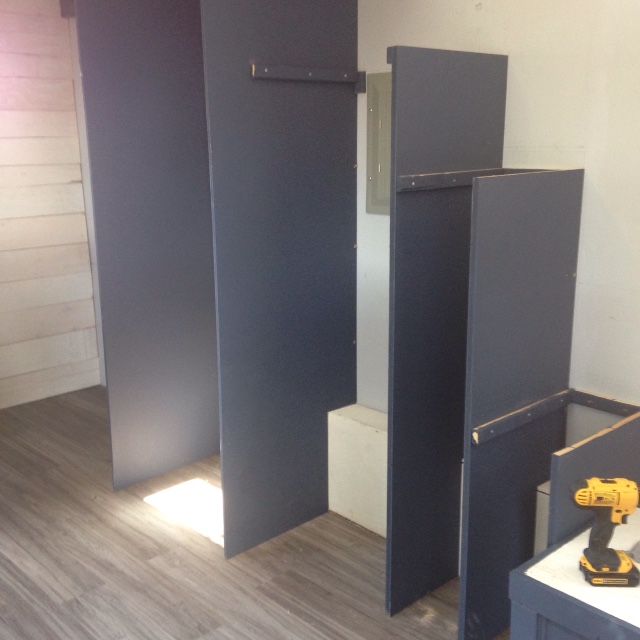
Done…kind of. I still need to put hinges on the cabinet doors for it to be official, but you can walk up to the loft now! WOO!!! I’m noticing the pics are slightly blurry…they were taken on my phone, so maybe that had something to do with it…oh well.
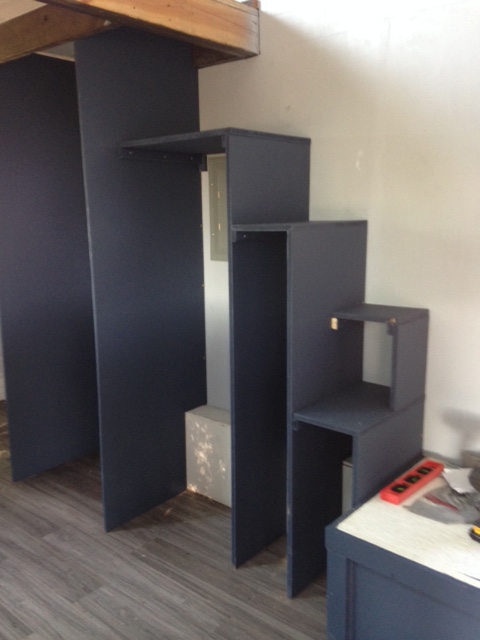
Then I finished out the closets…
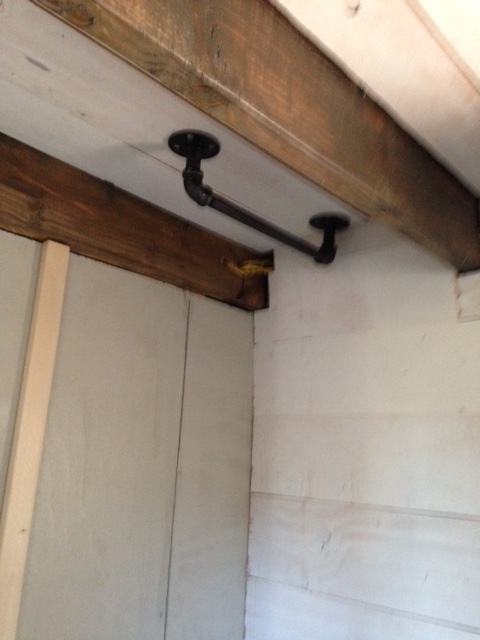
That started with a box of pipe. I bought this months ago and then somewhere along the line I threw away the plan. So it took me a while to remember how I had designed it.

The basic idea is that I’d use galvanized pipe as the rods in the closets. But I wanted to paint them oil-rubbed bronze.

Turns out this brand works like a champ…

Bathroom…
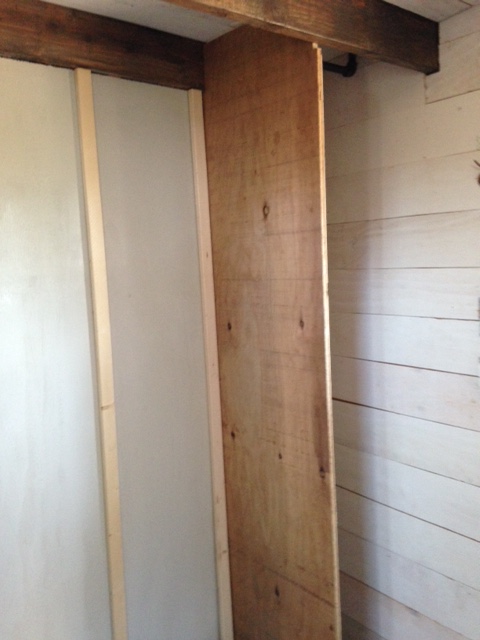
It’s hard to get a full picture because of the small space, but the right side will be for longer items, the left for short items, and the middle will be a mix of drawers and something else that I haven’t figured out yet.

Kitchen coat closet

Shelves next to the closets and opposite the stove/sink area…

That business took me about 2 days. It’s a pain getting all that pipe and board level, straight, blah, blah, blah. But at least it looks cool 🙂
And to think it all started with a spreadsheet.


I’m a big fan of painting items before installing too! Great tip.
LikeLike